
The numbers are stark. CAST AI's 2025 benchmark report found average utilization of 10% CPU and 23% memory against provisioned resources. That is low utilization, not proof of recoverable savings.
DevOps, platform, ITOps, and FinOps teams face the same bind: cut spend without causing pending Pods, throttling, evictions, OOM kills, or failed deployments. This article gives you a framework to separate useful headroom from waste, measure it by resource type, and trim it safely.
Key Takeaways
- Headroom earns its place only when tied to volatility, failure scenarios, and SLOs.
- Requests, limits, actual usage, and cloud capacity are four different things.
- Judge efficiency from peaks, autoscaling behavior, and cost over time, not one utilization figure.
- Compute, memory, and block storage need separate strategies; storage waste often survives rightsizing.
What Kubernetes Overprovisioning Actually Means
Overprovisioning happens at three levels:
- Workload: requests or limits larger than the application needs.
- Cluster: more node capacity than the workloads require.
- Storage: more capacity or performance provisioned than applications use.
Requests vs. limits
The scheduler places Pods by summing requests against node capacity. Limits cap runtime consumption. Neither equals sustained real usage.
CPU limits are enforced by throttling. Memory limits are reactive: exceed one and the container can be OOM killed. Node-pressure eviction is a separate mechanism, and it does not respect PodDisruptionBudgets.
Why some idle capacity is deliberate
Spare capacity absorbs traffic spikes, rolling updates, node or zone failures, and scheduling delays. Google's GKE guidance suggests sizing a buffer for a spike lasting two or three minutes. The right target depends on the application.
What poorly chosen values cause
- Oversized requests hurt bin-packing and trigger unnecessary node provisioning.
- Tight limits invite CPU throttling, memory pressure, or OOMKilled containers.
- Undersized requests cause contention and poor placement, even when the cluster looks roomy.
Headroom or Wasted Spend? A Kubernetes Decision Framework
Deliberate headroom has a purpose, a target, a time horizon, and an owner. Waste is capacity that stays provisioned with no demonstrated reliability or performance benefit.
Match the buffer to the workload
Evaluate each workload on these factors:
- Traffic volatility and batch or AI usage patterns
- Latency sensitivity and recovery objectives
- Replica requirements and deployment surge needs
- Node and availability-zone failure scenarios
Set a separate, evidence-based buffer for each resource. One blanket utilization target for the whole cluster hides more than it reveals.
Headroom vs. waste by layer
| Layer | Useful headroom | Likely waste |
|---|---|---|
| CPU | Covers measured peaks and spike duration | Requests far above P95 usage for weeks |
| Memory | Margin above observed peak to avoid OOM | Requests set once at launch, never revisited |
| Nodes | Room for zone failure and scale-up lag | Fragmented pools, underused nodes that never consolidate |
| Replicas | Minimums tied to availability targets | Static counts for traffic that no longer exists |
| Persistent storage | Capacity for known growth and performance | Orphaned claims, unattached disks, unused provisioned IOPS |

Don't trust averages
Average utilization hides spikes. Look at percentile usage, seasonality, deployment events, and failure tests. A service averaging 20% CPU may still need its requests during a Monday-morning surge.
Pricing changes the math
Idle capacity costs different amounts depending on how you buy it. AWS, Azure, and Google Cloud all offer one- or three-year commitments. Base those on baseline demand. FinOps guidance separates usage optimization from rate optimization: a discount on capacity you don't need is still waste. Reduce first, then commit.
How to Measure and Diagnose Kubernetes Waste
Start with an inventory at the cluster, namespace, workload, and node-pool levels:
- Allocatable node capacity and DaemonSet overhead
- Pod requests, limits, actual and peak usage
- Replica counts, pending Pods, and autoscaler activity
Know what each tool can tell you
| Source | Good for | Limitation |
|---|---|---|
kubectl top / Metrics Server |
Current node and Pod consumption | Not a historical monitoring system |
kubectl describe |
Events, requests, limits, controllers | Point-in-time view |
| Prometheus | Labeled time series for percentiles and trends | Needs setup and retention planning |
| OpenCost / Kubecost | Cost by workload, idle cost, PV cost | Allocation models vary |
| Cloud billing data | Actual spend | Coarse without Pod-level allocation |
Provider tools differ. GKE cost allocation uses requests rather than consumption. AWS split cost allocation data appears in CUR/Data Exports, not Cost Explorer.
Compare meaningful windows
One snapshot misleads. Compare normal traffic, business peaks, deployments, failover tests, and scale-up events.
Then look for root causes:
- Stale requests
- Missing or poorly tuned HPA/VPA policies
- Static replica counts
- Ineffective scale-down
- Abandoned claims
- Workloads that no longer run
Don't forget storage
Storage bills on provisioned capacity and, on some disk types, provisioned performance, regardless of how full the filesystem is. Check for unattached disks (AWS available state, Azure disks with a null ManagedBy) and PVs Kubecost flags as __unmounted__.

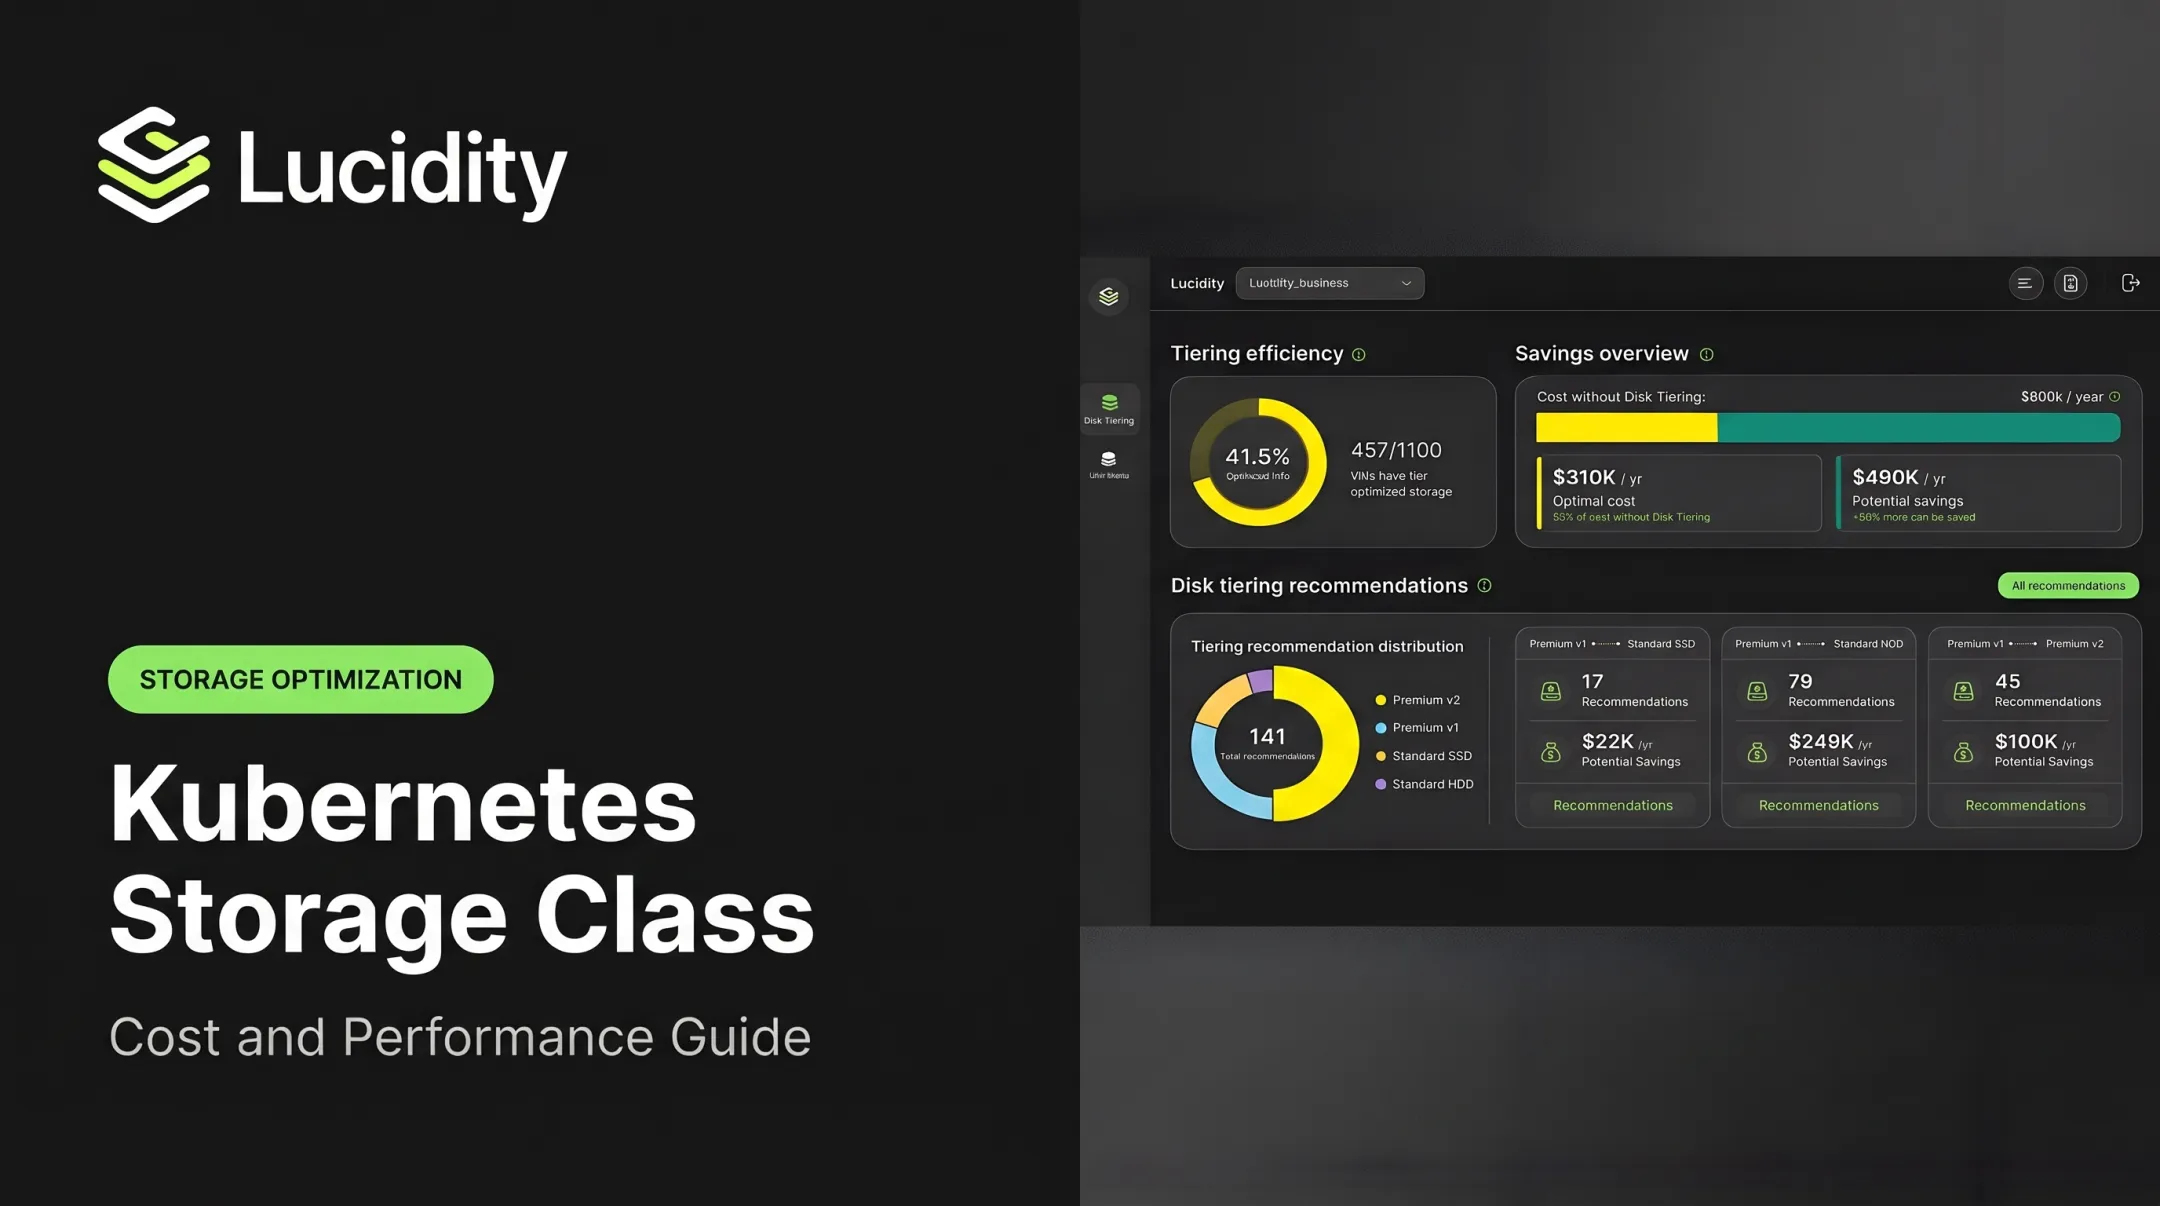
Lucidity covers this layer. It gives a real-time view of block storage across AWS, Azure, and Google Cloud, identifies idle disks (unattached, reserved, unmounted, and zero-I/O), and autonomously expands or shrinks disks without infrastructure changes.
Its scope is block storage only, not Pod CPU or memory. Data from 600+ Lucidity Assessments puts average enterprise disk utilization at 30%.
How to Reduce Overprovisioning Without Sacrificing Reliability
Rightsize gradually
- Use historical usage and load tests to propose new requests and limits.
- Roll out in stages with bake time.
- Define rollback criteria up front.
- Alert on throttling, OOM kills, evictions, latency, and pending Pods.

Salesforce reported on AWS a staged rightsizing approach with minimum replicas, PDBs, and eviction-rate limits. The company cited more than $5M in cumulative savings. That is one customer's outcome, not a benchmark.
Combine autoscalers carefully
- HPA changes replicas; downscale stabilization defaults to 300 seconds.
- VPA in
Offmode recommends; other modes may restart Pods. Avoid HPA and VPA on the same CPU or memory metric. - Cluster Autoscaler or Karpenter adds and consolidates nodes. Karpenter's
consolidateAftertunes the cost-versus-disruption trade-off. - Set min and max bounds, and never scale on a metric that tells only part of the story.

In-place Pod resize is stable in Kubernetes 1.35, but that doesn't make every change restart-free.
Pause Pods, optionally
Low-priority placeholder Pods with a PriorityClass can hold spare capacity for latency-sensitive scale-out. Real workloads preempt them. You pay for that dummy capacity, so size it deliberately.
Treat storage separately
- Reclaim unused claims; remember
Retainleaves backing storage behind. - Review unattached volumes and choose fitting capacity and performance tiers.
- Plan around the fact that Kubernetes can grow PVCs but can't shrink them.
Lucidity's Lumen bases tier recommendations on historical IOPS, throughput, latency, and cost, such as Azure Premium SSD to Standard SSD moves. AutoScaler handles expansion and shrinking where provider capabilities allow.
Keep the safeguards
- PodDisruptionBudgets for voluntary disruptions
- Topology spread and multi-zone capacity
- Surge room for deployments
- Capacity alerts and periodic failure and load tests

Run it as a FinOps practice
- Assign owners for capacity and cost
- Show cost and utilization by team or workload using labels and namespaces
- Review buffers on a schedule
- Require evidence before keeping long-term excess
Conclusion: Keep the Buffer, Remove the Guesswork
Don't chase maximum utilization at the expense of reliability. Don't keep capacity just because someone provisioned it during an old incident.
Your checklist:
- Define the purpose of every buffer.
- Measure allocated, used, and peak capacity.
- Analyze compute and storage separately.
- Change gradually.
- Validate against cost and SLO signals.
Frequently Asked Questions
What does overprovisioning mean?
Overprovisioning means allocating more CPU, memory, node capacity, replicas, or storage than current or reasonably expected demand requires. Intentional headroom is not automatically wasted spend.
What happens if a pod exceeds the memory limit?
The kernel may kill the container with an OOMKilled event, and it restarts per its restart policy. Limits differ from requests and from node-level memory pressure.
How much headroom should a Kubernetes cluster have?
There's no universal percentage. Base it on traffic volatility, SLOs, failure scenarios, deployment surges, scale-up latency, and measured peaks.
How do you identify overprovisioned Kubernetes resources?
Compare requests, limits, allocatable capacity, actual and peak usage, autoscaler events, pending Pods, and cloud cost over a long enough window.
Does Kubernetes overprovisioning always waste money?
No. Intentional capacity reduces outage and scaling risk. It becomes waste when measurable availability, performance, or operational needs don't justify its cost.
What is the difference between Kubernetes requests and limits?
Requests guide scheduling and capacity planning. Limits cap what a container can consume, with CPU throttled and memory subject to OOM kills.